
PowerShell on its own it a very powerful tool. But what if told you can make it even better using some tools that you can install on it? Not only that but you can also make it more beautiful/handsome, perhaps with a bit of a personal touch too? So, in this post I’m going to show you what is my routine for setting it up. In the end we’ll see that PowerShell will become much more powerful than it was. It will also look snazzy!
Install Windows Terminal and PowerShell Core
The first thing we need to install is Windows Terminal. Windows Terminal out of the box even without any modification to it greatly improves our windows terminal experience. Not only it lists all the accessible terminal on our machine, but also it makes using it a more native windows experience.
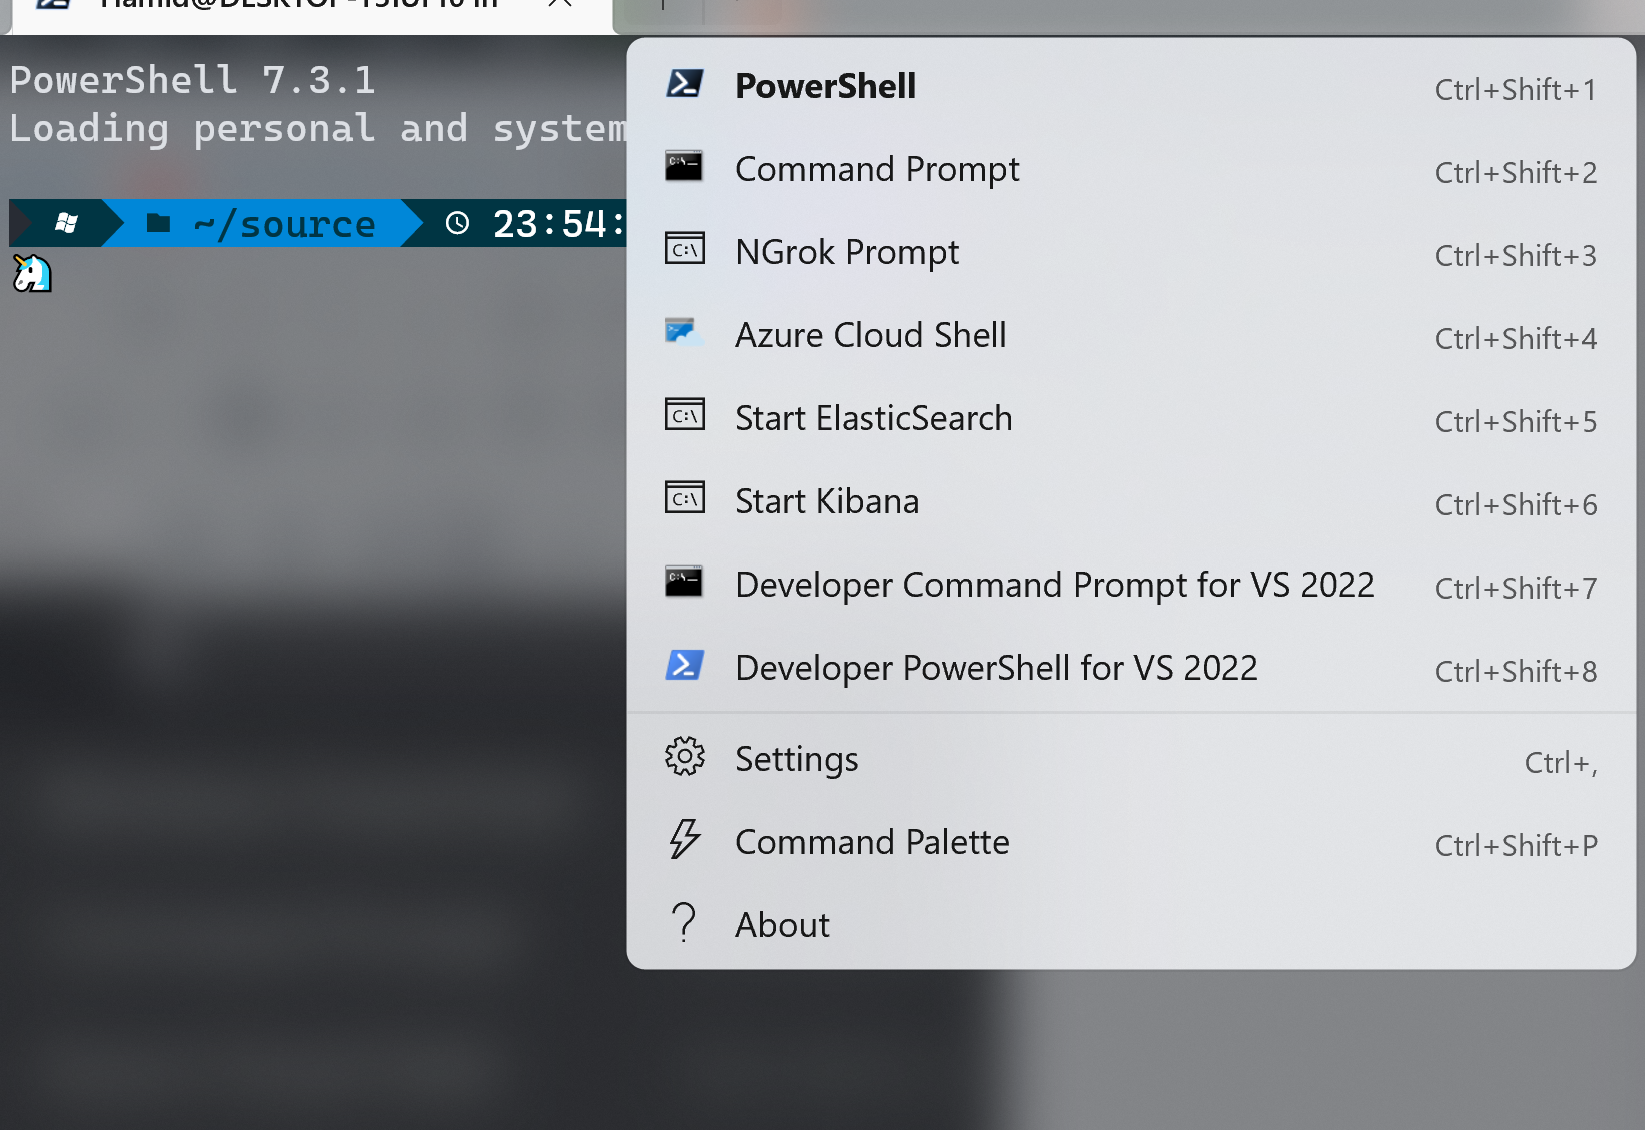
After installing the windows terminal, you might be missing what is enclosed with green rectangle here. This is the Core cross platform version of PowerShell. The one you see first is the windows version of it, but I recommend using the core version as opposed to a version that is specific to windows. You can find the link to download the core version in this link. The configuration we’ll going to make is going to be on the PowerShell core version and not the windows version of it. So, ensure the commands we are going to see in the subsequent section is being executed in PowerShell Core.
Install Additional tools like scoop, neovim, z, PSReadLine on PowerShell
In this step, we’re going to install multiple tools that expands the functionality of PowerShell. I’ll list the tools below with brief explanation about what they do.
Install Scoop, a command line installer
iwr -useb get.scoop.sh | iex
Install curl (the client url tools), sudo (adds the concept to sudo to PowerShell), jq using scoop
scoop install curl sudo jq
Install Neovim (a new interesting factor of vim)
scoop install neovim gcc
Install Z (make navigation in PowerShell extremely easy)
Install-Module -Name z –Force
So, imagine every time we need to go to:
C:\Users\Hamid\source\repos
We need to type:
cd C:\Users\Hamid\source\repos
But if we only visit this directory once, we can simply navigate to it using, z repos, easy as that, it saves a lot of keystrokes!
Install terminal Icons (It gives specific Icons to windows based on file type)
![]()
Install-Module -Name Terminal-Icons -Repository PSGallery
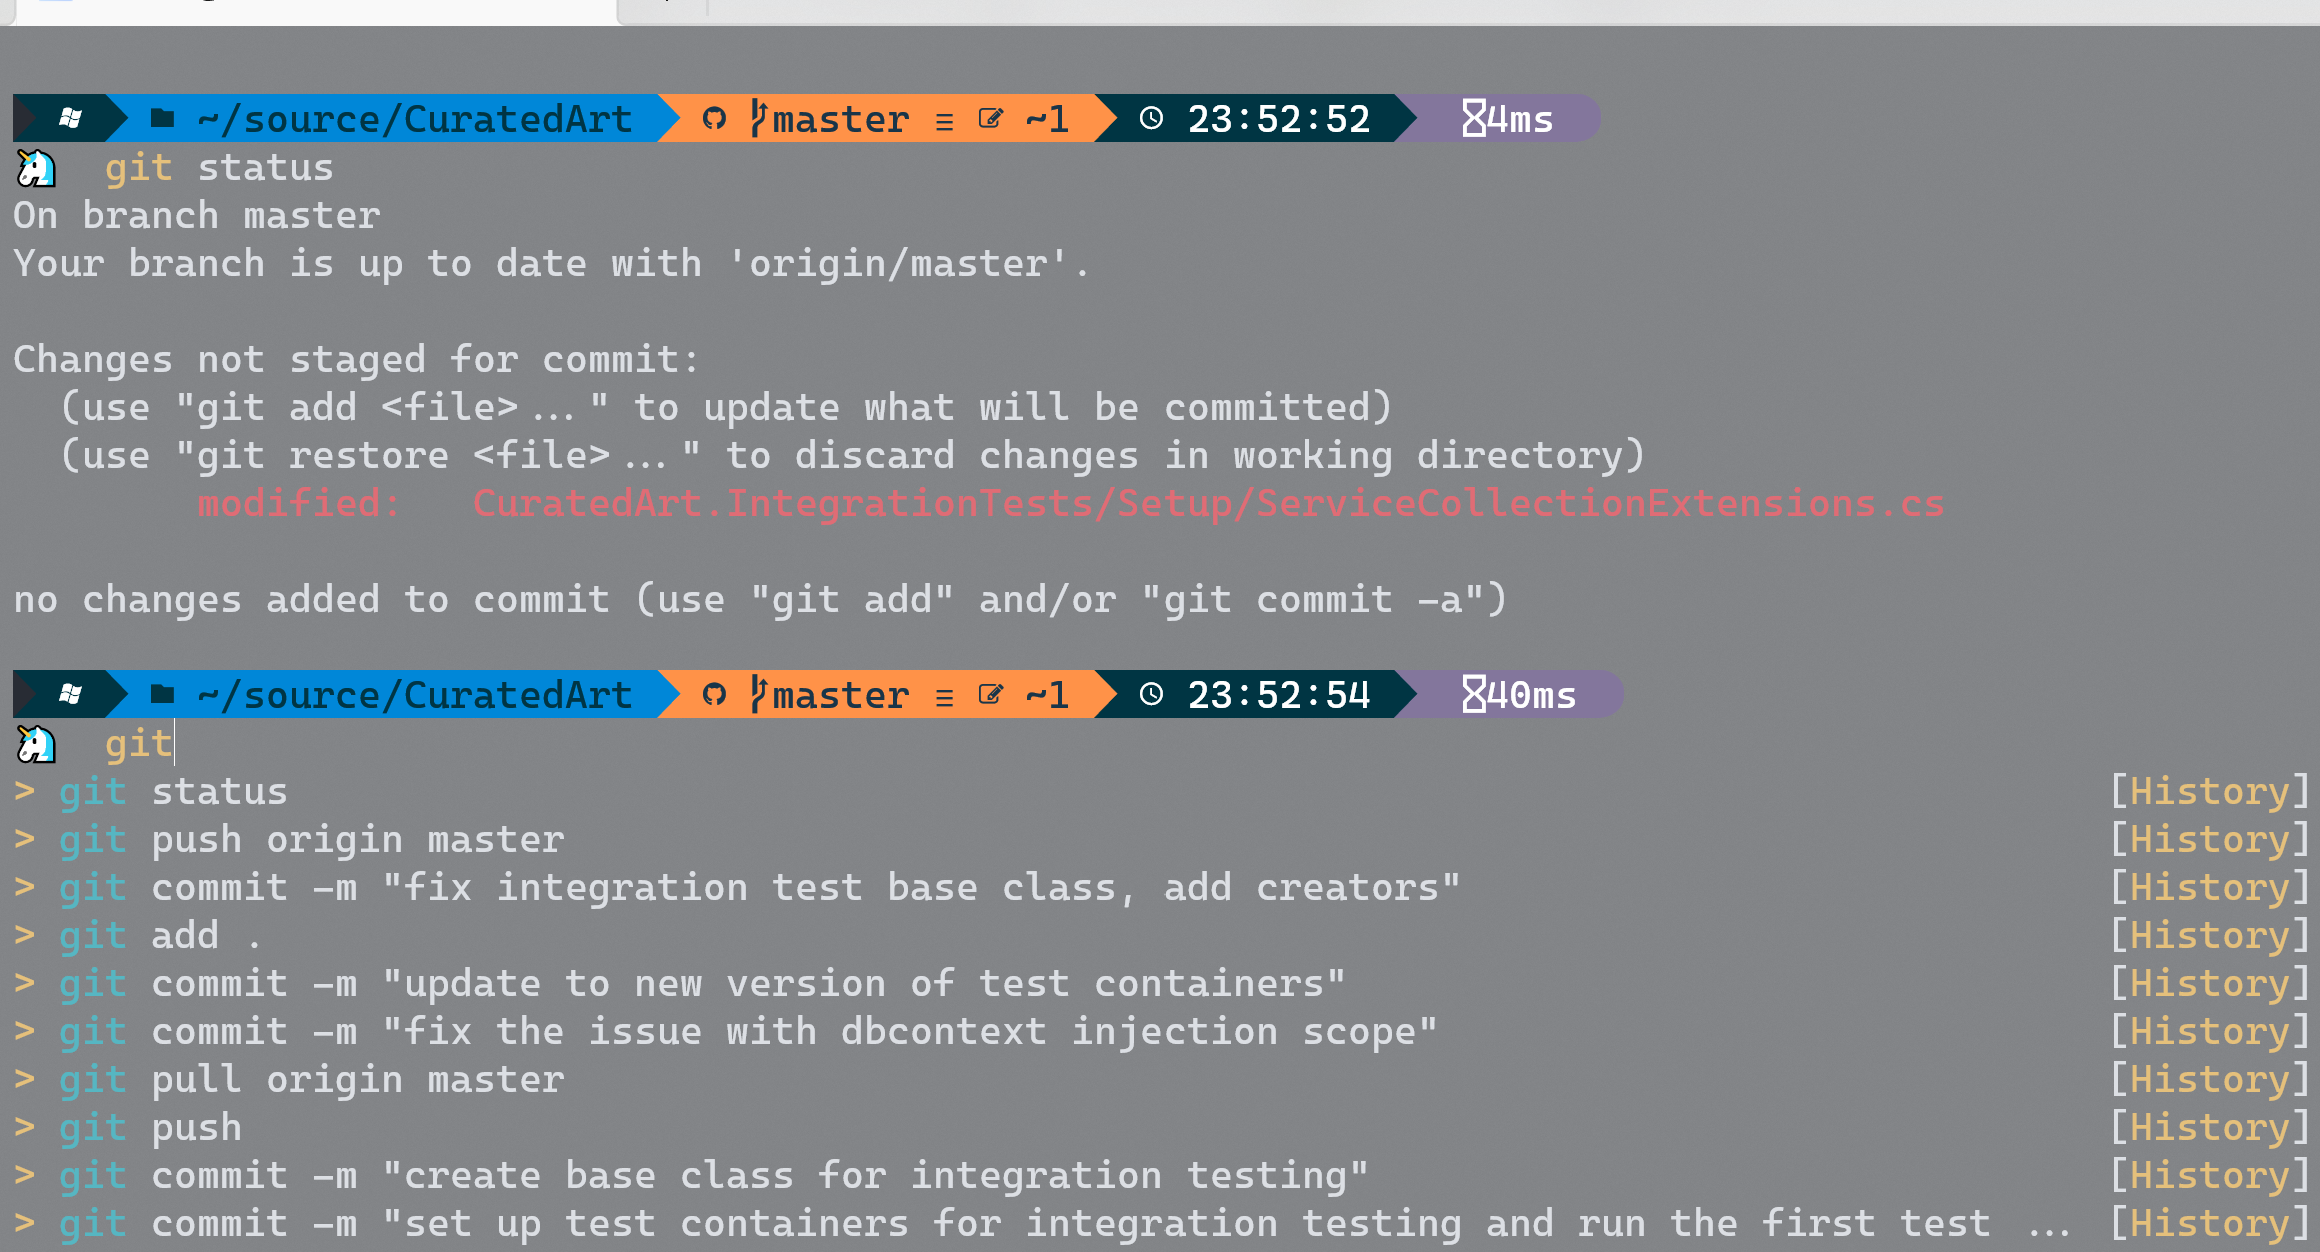
Install PSReadLine (add autocompletion to PowerShell based on previous commands)
Install-Module -Name PSReadLine -AllowPrerelease -Scope CurrentUser -Force -SkipPublisherCheck
Install Fzf (Fuzzy finder and its PowerShell Module)
scoop install fzf
Install-Module -Name PSFzf -Scope CurrentUser -Force
Now we installed all the tools that we intended, please bear in mind that some of them might not work at this point. Because some of them needs their associated modules imported into our PowerShell profile first.
Install Oh My Posh and Nerd Fonts on PowerShell
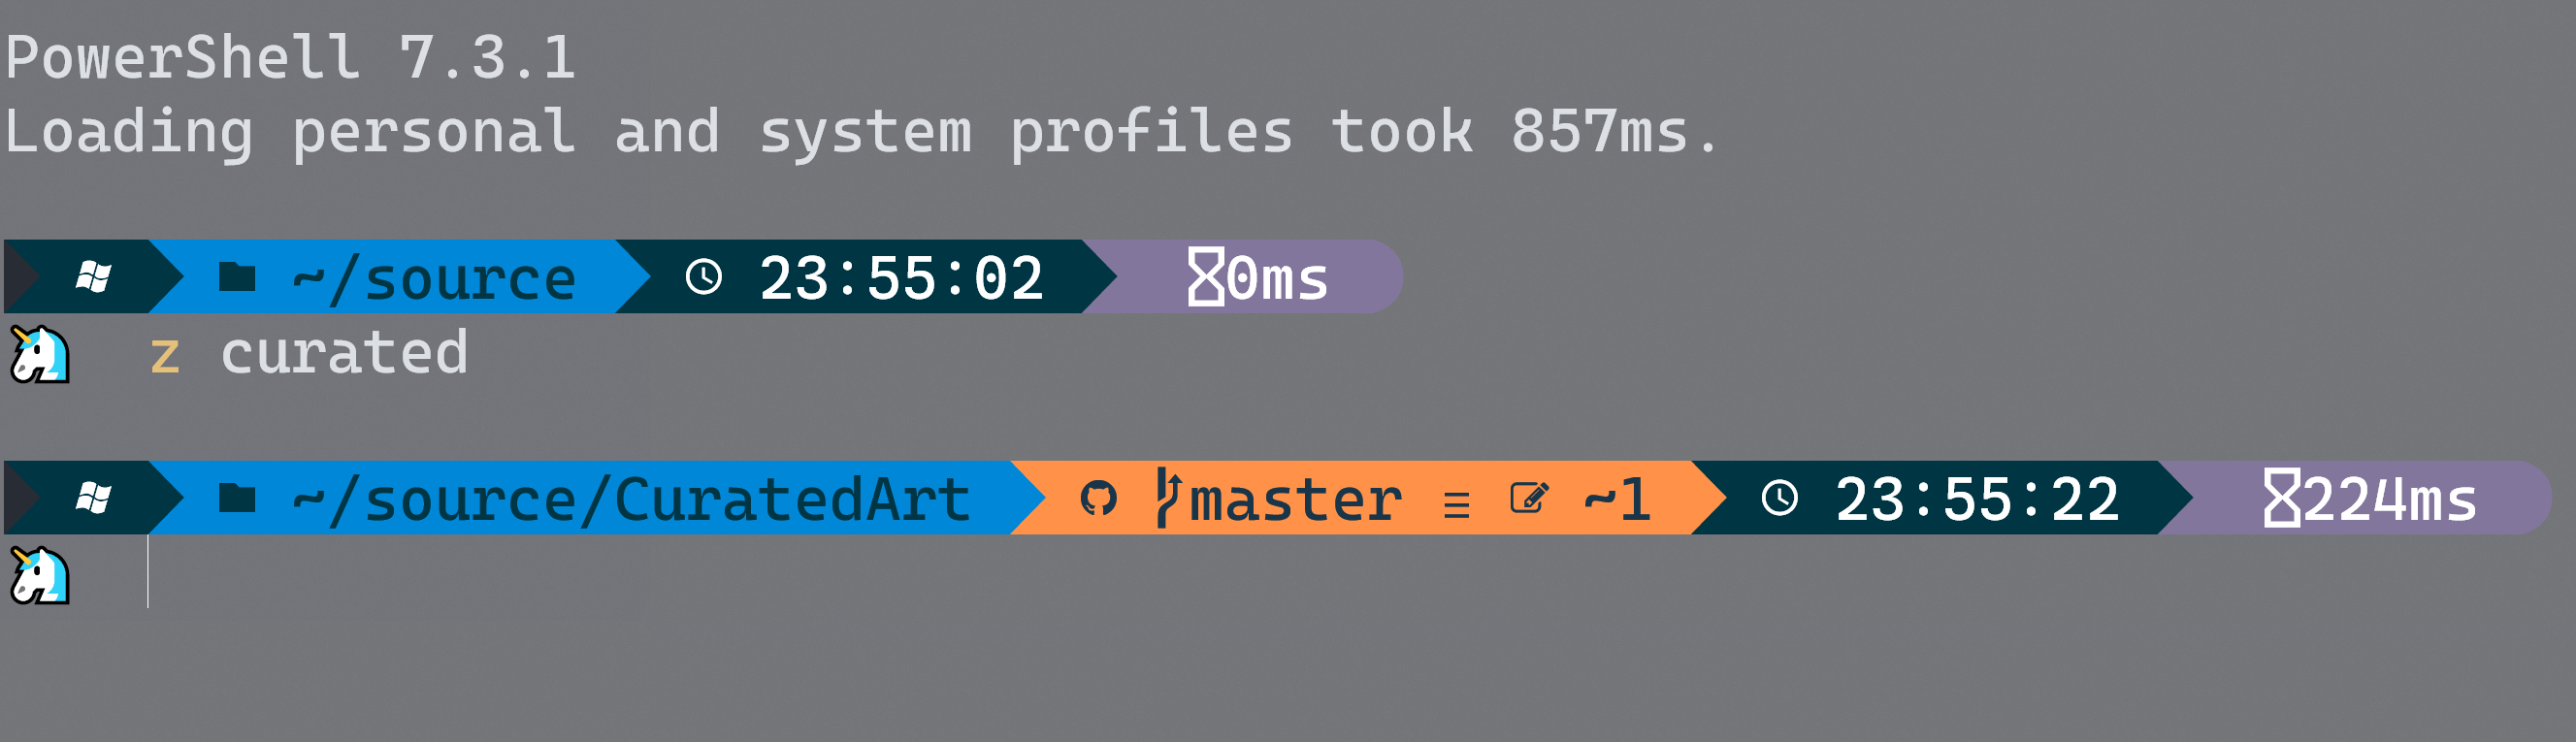
Now we can go ahead and install Oh my Posh. Oh my posh is a prompt theme engine for any shell. So basically, the fancy images and the paths we saw at the beginning of this post is created using this theme engine. Here’s the steps we need to take.
Install oh my posh
winget install JanDeDobbeleer.OhMyPosh -s winget
Install the nerd font
oh-my-posh font install
Link to repo: https://github.com/ryanoasis/nerd-fonts/releases/download/v2.2.2/CascadiaCode.zip
Remember to Also Change the Fonts Inside Terminal Settings

Install the posh themes
Install-Module posh-git -Scope CurrentUserSet-PoshPrompt
Get-PoshThemes
Get-PoshThemes -ListSo, at this point we installed everything we needed related to our theme engine.
Create PowerShell Profile and Import Things we Need
Next step is to create our PowerShell profile so we can import the necessary modules. It is also necessary for us to be able to customize our PowerShell experience. In subsequent section, I’m going to list the step we need to take.
Creating PowerShell profile if it already does not exist
New-Item -Path $profile -Type File -Force
Add utility command <which (same as linux shell, show us the full path of the current commandlet)>
Import the Modules that we installed with the options we’re interested in using
Please go ahead and copy and paste this entire block in your PowerShell profile. There’s a lot of things that is happening in this block. I will try to explain the gist of what is happening. But keep in mind that these are my personal settings, and you can change them as you wish.
I’ve added comment about what they do above each section. But feel free to ask me if you had any question in the comment sections. Here’s the end result that you can expect with some of the commands executed. Also, Scott Hanselman (My favorite person on the Planet), is also has a video that goes through some of the same things I’ve explained here.
Summary
In this post we saw how we can improve and beautify our PowerShell experience. One would think that a tools as powerful as PowerShell cannot get even better. But the point is there are a lot of modules and point of extensibility for PowerShell that we can explore.
why u dont use choco?
Scoop is focusing on a different type of setup than Chocolatey; I know that Chocolatey package count is higher, but I don’t have use for them all the time.
“Install-Module posh-git -Scope CurrentUser” is the last command that works for me. Afterwards, beginning with “Set-PoshPrompt” I get an error message that the command is not recognized as a name of a cmdlet, function, script file, or executable program. Suggestions?
Try it:
Install-Module oh-my-posh -Scope CurrentUser
I recommend trying zoxide (https://github.com/ajeetdsouza/zoxide)
It’s inspired by both z and autojump and more powerful than either.
I switched from z because zoxide has `z -` to go to previous dir, and `zi ` which can interactively resolve for ambiguous/parallel directory